How to Create Balanced Compositions in Floral Paintings
In this tutorial, you’ll learn my favorite tips for creating balanced and contrasting compositions in your floral paintings. You won’t just learn how to paint flowers, you’ll learn how to create a visually interesting composition that will make your work stand out.
Composition in art is one of the key skills to learn as an artist because it allows you to guide the eye of the viewer which gives meaning to your work and helps it tell a strong story. Composition is something that you’ll continue to work on throughout your career (and something that I still work on myself!) but this tutorial is designed to give you a good jumping off point when it comes to creating balanced compositions.
We’ll start by learning basic composition techniques and move into learning how to apply those to a floral painting or illustration.
Basic Composition Tips
There are a few key things I always come back to when I’m planning my compositions.
Contrast
The first is contrast. Design is difference. This means that a visually appealing illustration is based on a foundation of contrast. The goal is to have enough contrasting elements in your piece to keep it interesting without it being overwhelming. You can achieve contrast through value, color, and size. We’ll explore actionable ways to add contrast in the next sections!
Hero Elements & Supporting Actors
To create a balanced illustration, you want to make sure that your composition is not too crowded. You can help guide the viewer’s eye by making one piece of your illustration the “hero element.” This element stands out from the rest and is the first thing someone sees when they look at your painting. It’s meant to be the focus of the piece, what the illustration is really about. Also, it’s generally the largest element in the illustration.
I like to think of the other elements of the illustration as the “supporting actors.” They’re there to provide contrast and visual interest, adding to the composition by directing the eye to the focus of the painting – the hero.

Rule of Thirds
An easy way to start your composition out on the right foot is to use the rule of thirds. What this means is that you break your canvas up into thirds both horizontally and vertically. The points where these lines intersect are good spots to consider placing your hero element. It’s more visually interesting for the main part of a composition to be in one of these areas of the canvas than right in the center.

There is so much more I could say about composition, but for now, those basic principles will give you a fantastic foundation to start with. Your skills with creating compositions in art will always be growing as you continue to practice, but these are the main pillars that I come back to again and again as I’m planning my illustrations.
How to sketch flowers from a reference image
Before we dive into creating a floral composition, here are a few tips for how to sketch flowers from a reference image! Flowers are one of the most universal motifs out there and one of the most popular commercial art categories. They are always popular from a consumer standpoint because flowers are such a joyful and beautiful motif.
It can feel a little intimidating to draw flowers since many of them have intricate details that can feel difficult to capture. But drawing flowers doesn’t have to be complicated! Here are a few of my top tips for sketching flowers from a reference photo that makes the process easy and fun!
Grab a reference image of your favorite flower (or use my floral Pinterest board here to help you get started), and let’s start sketching!
Shapes
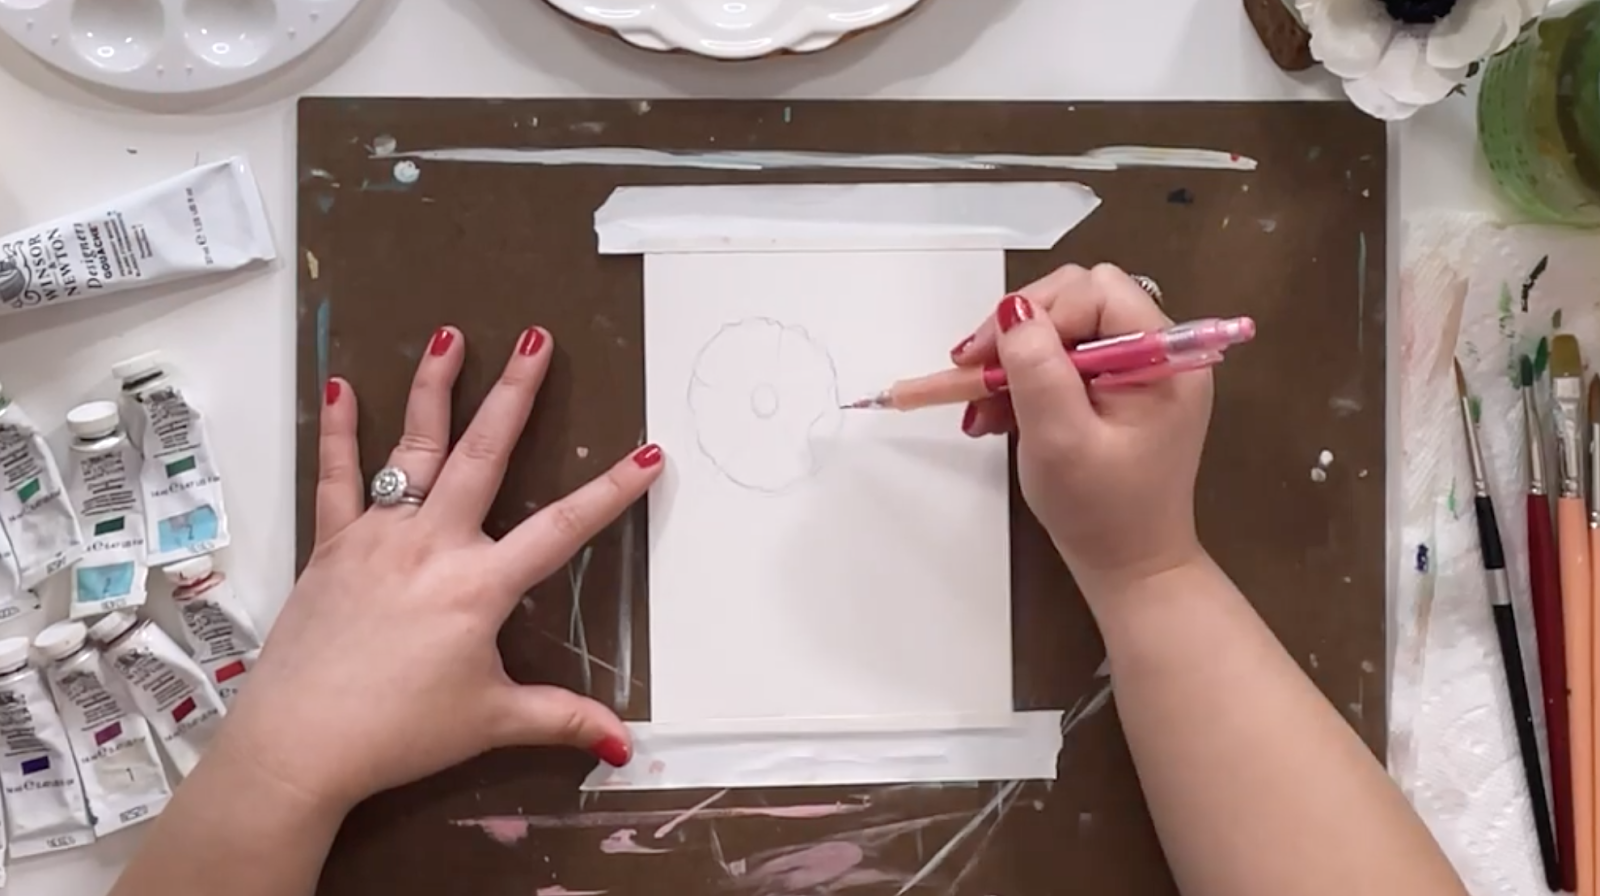
First things first, you want to look at the shape of the flower. Break it down into its simplest form. In this example, I’m drawing an Icelandic Poppy. The overall shape of the flower is round, so I’m starting with a simple circle to indicate the shape of the poppy. The center of the flower is also a circular shape, so I’ve drawn that in the center of my sketch.

Refine and Add Details
The next step is to take that shape and start to refine the details to make it recognizable as the flower you’re drawing. In my example, I’m noticing two key things to add; the ruffly edges of the petals and lines to indicate the boundaries of each petal. This is enough detail to make it recognizable as a poppy, but not so much that it is overwhelming. This is where you can add in your own artistic flair as well. For example, my reference image doesn’t show any of the leaves folding over, but I’ve added a curled edge to one of the leaves in my sketch.

The rest of the details like color and shadow will be added when you start to paint your illustration. This is what will really make your illustration pop and bring the flower to life.
The beauty of painting with an opaque medium like gouache is that you can completely cover your sketch and it won’t show through like it can with a transparent medium like watercolor. So when you’re sketching, don’t be afraid to let loose and relax. The key with sketching is not to overcomplicate it.
Creating a balanced floral composition
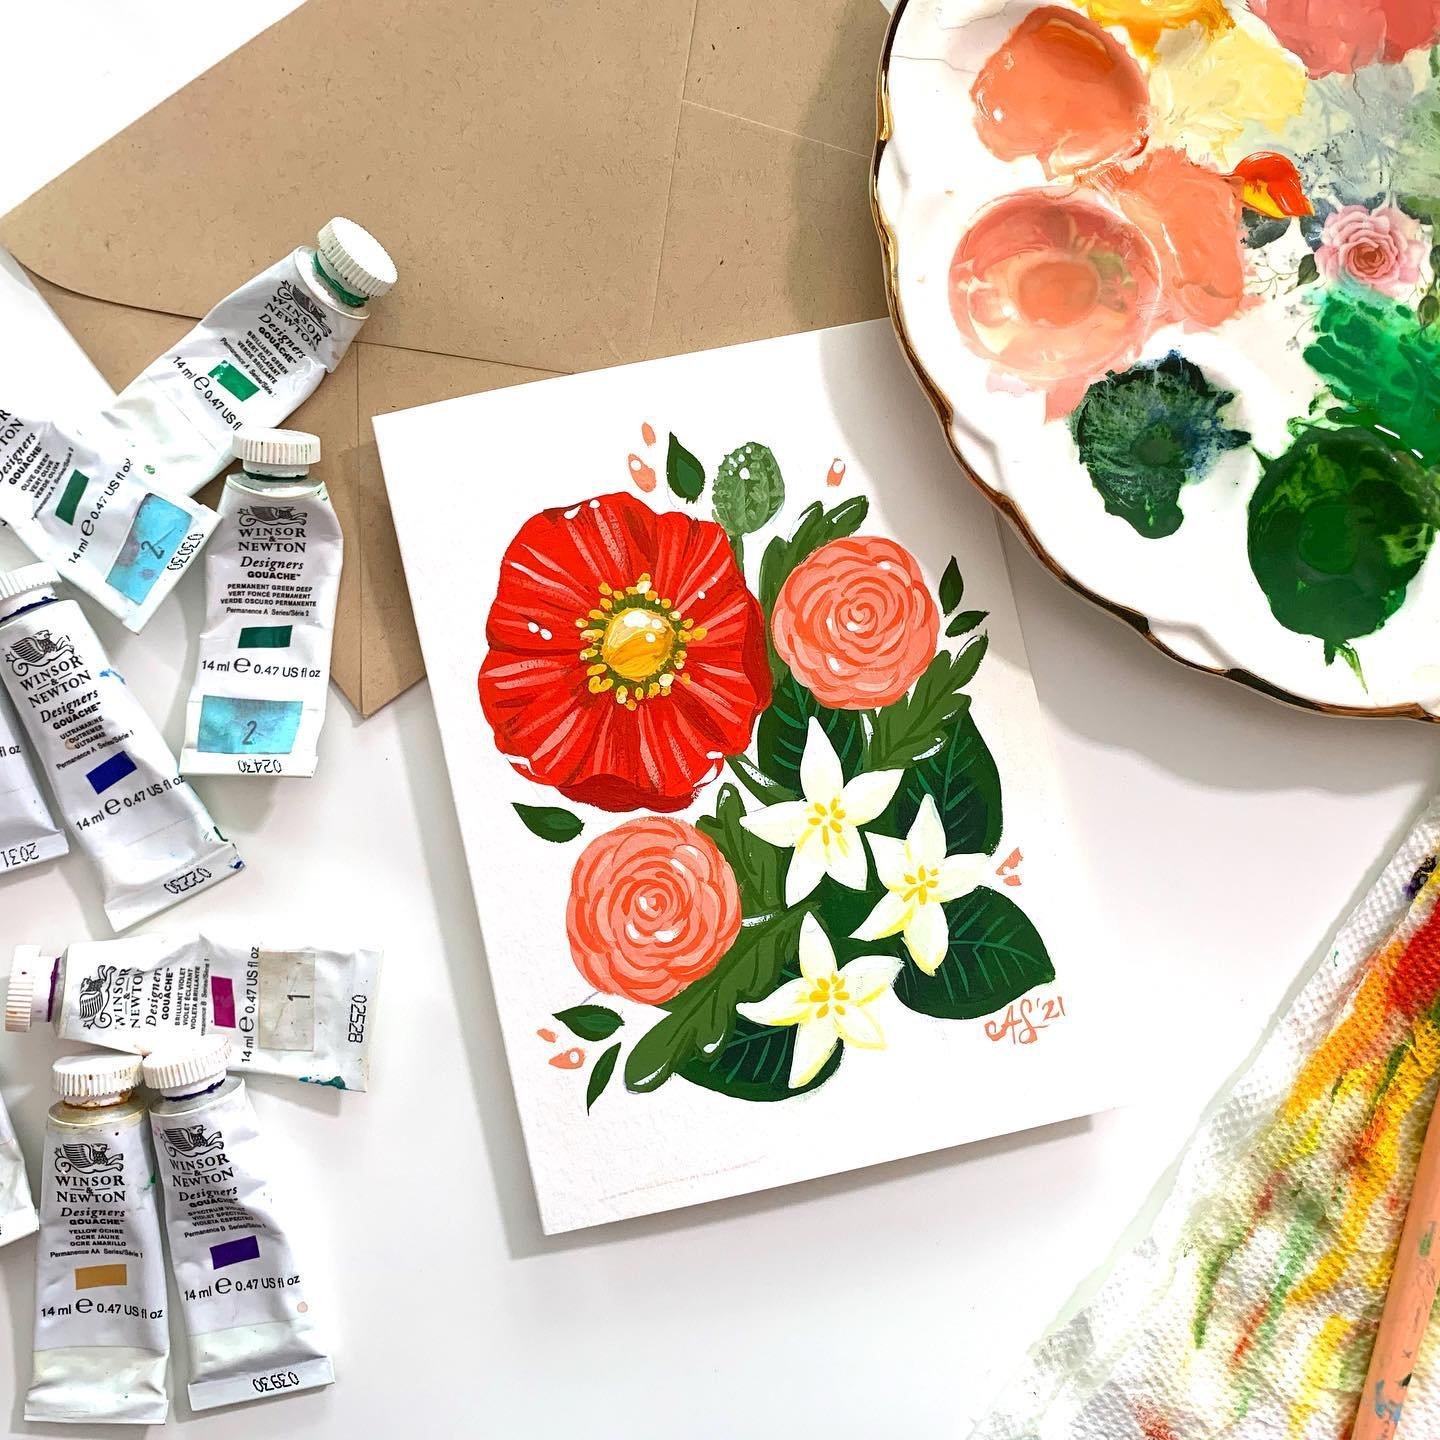
Now that you know the principles of building a balanced composition and techniques for sketching flowers from a reference photo, it’s time to start putting together your floral composition! I’ll be walking you through my process for how I built this floral illustration.
Feel free to follow along with me or choose your own favorite flowers for your composition.
The first step is to choose a hero element! I chose a poppy for my hero. Next, you’ll choose your supporting actors. In my illustration my supporting actors are ranunculus and orange blossoms.
Once you’ve chosen the flowers you’ll be drawing, the next step is to place the hero element on your canvas. This is the main part of the composition, so it’s helpful to put it on the page first and build out the rest of the composition from there. Using the rule of thirds, I chose to put my hero element in the top third of my canvas.
The next step is to place your supporting actors. My ranunculus flowers are slightly smaller than the poppy, but larger than the orange blossoms, so I’m going to place them close to the hero. You want your supporting elements to be around the hero, guiding the viewer’s eye towards the main focus.

Another great way to add a supporting flower in a floral composition is to group a few small flowers together. Again, using the rule of thirds, I tend to group these in threes! This adds a touch of asymmetry to help create contrast.
Since they’re smaller and all the same, this doesn’t distract from the overall feel of the piece while also providing a little pop of interest. I’m going to put a few smaller orange blossom flowers in the open space on the page. Since these are a different shape than the poppy and ranunculus, that adds another layer of contrast to the composition.
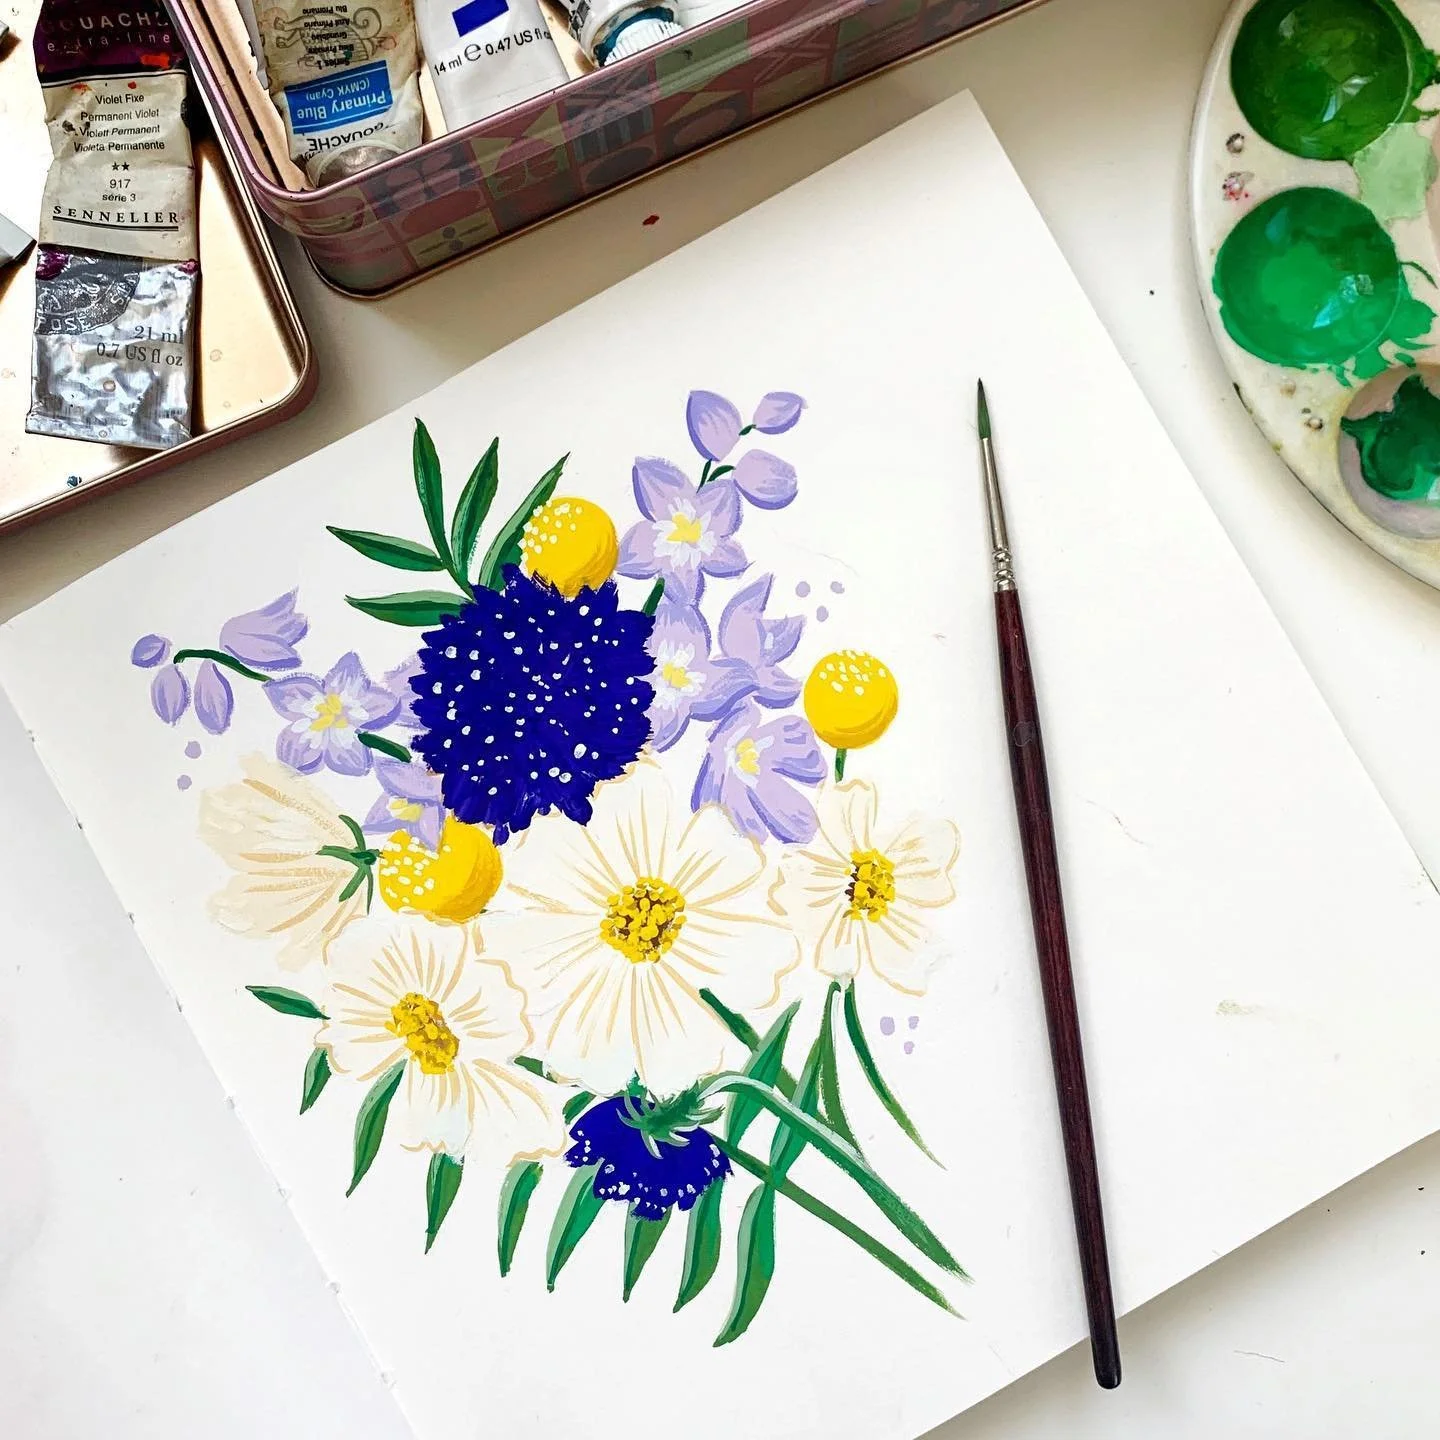
Now we have the main elements of the composition sketched out, but it still needs a little something extra to fill up the page and make those flowers pop. In a floral composition we can achieve this with greenery! Since leaves also tend to be a darker shade of green, this really helps the colorful flowers pop off of the page!
In my composition, I’m going to start adding different varieties of leaves, stems, and greenery to fill out the rest of the composition. Remember, contrast is the name of the game, so having a few different variations of your greenery can help build a stronger composition than sticking to just one style of leaf!

My final tip for composition is to keep it simple. You want to ensure that there is enough contrast while not overworking the piece. Take some time to look at your composition critically to decide whether or not you need to add anything else. Adding little flourishes can help balance out the piece, but adding too much can distract from the hero.
I hope that this tutorial has helped you put together a beautiful floral composition!
If you’re feeling a little stuck wondering where to go next or you want to learn more about how to refine your floral illustration in the painting stage, I’d love for you to join me in my class, Painting Flowers in Gouache. You’ll learn my step-by-step process for painting beautiful blooms and how you can turn a simple floral sketch into a vibrant bouquet!
And don’t worry if you’re a beginner. This class is designed for all levels, and I’ll be guiding you every step of the way.
You can join this class for free with this link that gives you access to a free trial with Skillshare. I hope to see you in the class, and I can’t wait to see your flowers come to life!
