
Steps To Setup Your Belkin Router
Get Seamless Connectivity: A Step-by-Step Guide to Setting Up Belkin Routers
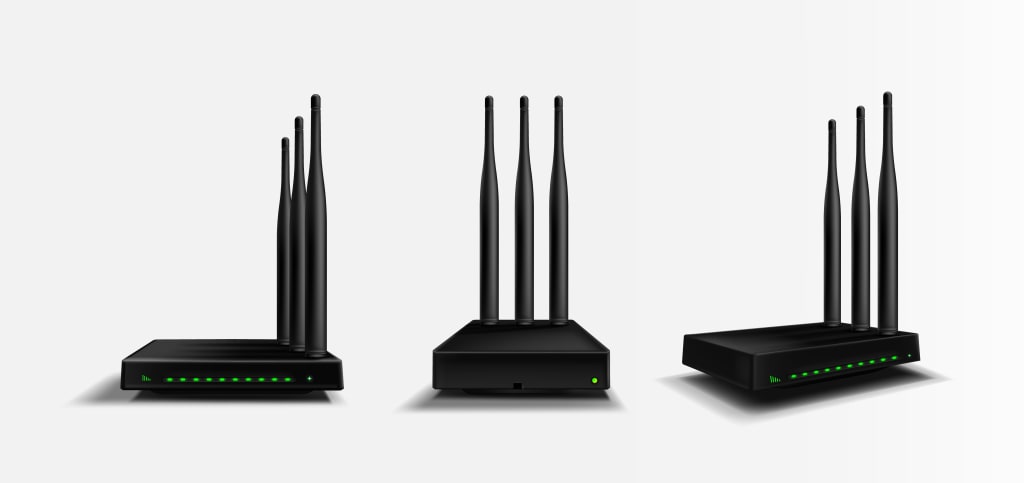
Discover the world of Belkin Routers, where simplicity and great connection go hand in hand. The key characteristics of Belkin routers are highlighted in this article, along with the significance of proper setting. In the current digital era, a well-set router is necessary for a trouble-free internet experience. By explaining how Belkin routers work and emphasizing how crucial it is to install them correctly, this tutorial aims to make them easier to use.
It gets easy to navigate through the setup process, so even non-techies can enhance their network. This course serves as a roadmap for understanding the principles of Belkin routers and the reasons that accurate configuration is essential for anything from improving security to optimizing speed.
Step-by-Step Guide to Physical Configuration of Belkin Router
With our complete tutorial, configuring your Belkin router physically is a breeze. To guarantee a seamless and effective setup process, adhere to these straightforward guidelines.
1. Pick the Proper Location:
A central place is ideal for your Belkin router, away from distractions like walls and electronics. This guarantees that your house has the best possible signal distribution.
2. Power Source:
Using the included power adapter, connect your Belkin router to a power source. Verify that the router is turned on and that the connection is safe.
3. Fasten external antennas, if necessary:
Make sure the external antennae on routers are firmly attached. By improving signal strength and coverage, external antennas give you a more dependable connection throughout your area.
4. Check LED Signals:
On the router, look for LED indicators. A successful connection is indicated by a constant power light. Should you encounter any problems, see the setup manual or get in touch with Belkin router setup and support services.
If you follow these steps, your Belkin router will be physically configured and ready to offer a stable and strong internet connection. Do you require help getting along the way? If you need help configuring your Belkin router, give us a call or send us a mail.
Configuring Your Belkin Router for Cable or DSL Internet
It's easy to optimize performance by configuring your Belkin router for a cable or DSL connection. You can easily get your router up and running by following these easy steps.
1. Compile the Information You Need:
Get all of the necessary data from your Internet service provider (ISP), such as your login credentials and connection type (cable or DSL).
2. Make a Modem Connection:
Connect your Belkin router to the cable or DSL modem using an Ethernet connection. Make sure both ends of the connections are secure.
3. Turn on the electronics:
Turn on the Belkin router after turning on the DSL or cable modem. A reliable set of LED lights will indicate when the devices are fully initialized.
4. Get to the Router Configuration:
Launch a web browser and type 192.168.2.1—the router's default IP address—into the address bar. Use the default credentials on the router or the ones your ISP sent you to log in.
5. Adjust the Internet Preferences:
Go to the router's settings and choose between cable and DSL for your connection type. Enter the password and username that your ISP has provided. Save the modifications.
6. Restart the router after changing the Internet setting:
You should restart your Belkin router after making adjustments. This guarantees the changed configurations are applied.
7. Verify the Connection:
To ensure you are connected to the internet, launch your web browser and load a page. If all goes well, your Belkin router is configured for a cable or DSL connection.
If you require assistance during this process, Belkin router setup support services can provide it quickly and efficiently. You could have perfect internet performance if your Belkin router is set up properly.
How to Use the Web Interface on Your Belkin Router: A Step-by-Step Guide
The web interface on your Belkin router is essential for adjusting settings and guaranteeing top performance. To easily access the router's web interface, follow these easy instructions.
1. Locate the IP address of the router:
On a Windows computer, type "ipconfig" into the Command Prompt window. Search for "Default Gateway"; this is the IP address of your router.
Using a Mac: Select your connection under System Preferences > Network, then click "Advanced." The TCP/IP tab displays the IP address of the router.
2. Locating the router's IP address and connecting to it
Launch a web browser and type the IP address of the router into the address bar. To navigate, press Enter.
3. Open the web interface and log in:
Enter the password and username for your router. Use the default credentials from the router's documentation if this is your first time or if you haven't updated them.
4. Examine the Router Configuration:
You can access the router's web interface after logging in. Look through the many options to adjust network, security, and wireless settings.
router configuration 5- Adjust as Needed:
Adjust the settings to suit your tastes. To improve your network, change the Wi-Fi names, passwords, or security settings.
6. Save and restart, if necessary:
After making changes, save the settings. Some adjustments may require a router reboot for them to take effect.
You can easily visit the web interface of your Belkin router and manage your network settings by following these instructions. To guarantee a seamless and personalized experience, get in touch with Belkin router setup help with any questions or needs.
About the Creator
Keep reading
More stories from writers in Journal and other communities.
Mindful feet
I’m a life-long depressive, but I’ve mostly learned how to live with it. I can recognise when it’s getting worse, I know what helps and what doesn’t. I’ve read all the books and tried all the things and found what works for me. One of the things I tried along the way was mindfulness.
By Alice Elizabethabout a month ago in Journal
Web Accessibility: Designing for All Users
Web developers feel it their duty that the websites they develop are accessible to users all across the board. In other words, web accessibility is the designing of websites for all users. Web accessibility also means it is developed in a way that users with sensory, motor, or other sorts of disabilities are not excluded.
By Monika Roy3 days ago in Journal
Create Your Personal Vocal Homepage
I'm not a Vocal Newbie (not that there's anything wrong with that), and I'm technologically comfortable. But, I'm also perhaps too comfortable. I think I know, even if I know that I don't know what I don't know, I still think I know more that I do know.
By Judey Kalchik 3 days ago in Writers
Peanuts and Crackerjack
Bottom of the ninth inning. The game is tied with two outs, two strikes and a man on second. I tap the bat on home plate. The rigid vibrations it creates reminds my aching digits that this isn't over. The practice swing only adds to the heft of mental burnout... Man on second, willing to chance it. Pitcher eyes him but doesn't give in to the dangerous bluff. I kick up dust, readying the peculiar stance I've had since the days of little league. The bat lays stiff upon my cramping shoulder. Pain has no reason to be acknowledged; it's a fleeting afterthought. The sun sits passed high noon, but the stadium lights are on anyway. They trick my brain into believing they are the cause of this sweltering heat. Sporadic clouds are motionless, they too, don't want to miss this exhilarating predicament. Anticipating the next pitch, intensifying roars from the crowd rumble the stadium... Behind me, the crafty catcher adjusts his stance and spits to the dry dirt. Behind him, the staunch umpire doesn't flinch or even blink; he knows how important his call will be. The pitcher winds up, his grip tells me its gonna curve. The release is fierce! Beads of sweat from his hair and face disperse in every direction as the force of his might is unfailing. My left leg lifts—an instinctual move that will increase the power of my swing. It's all down to my two, bloodshot eyes. They lock onto the speeding, white dot as it instantly becomes the target I intend to destroy. The swing is late, but I manage a solid tip. The ball is taking a fast bounce toward the pitcher who is recovering from the almighty throw! Man on second leaves in a desperate rush! I fling the bat to the side with a sense of urgency and make a mad sprint to the only destination I have—first base. Three defenders race inward to be the first to retrieve the skidding ball. Man is almost on third! I watch the open glove of my adversary, wondering if I’ve done enough to win this race. I switch my attention to his eyes, looking for a clue, some kind of reaction that tells me the ball is in the air and heading his way. All I see is frustration. The deafening roar of the crowd spikes! Something happens that I can’t see! My opponent abandons his post right as my left stride touches the bag. I waste no time turning my head to see the pitcher laying on his stomach, pounding the mound with an open glove. He misses the opportunity to out me and the ball has quickly bounced past him. Excitement grows! This isn’t over yet... It's become an imperative fight to tag out the runner heading homeward. The catcher falls to his knees in obvious despair as he watches my teammate make the run of his life. He knows it’s going to be close when he sees the shortstop fumble the ball a second too long. I jump up and down with no plans on leaving first base. All my chips are on the speed and agility of the active runner. His cleats dig into the dirt, trailing a dust-filled cyclone from the rapid and strenuous strides. With a thrusting dive and an outstretched arm, he lands on his chest to begin the crucial slide to home plate. The shortstop fires the ball to the catcher! It immediately begins closing the gap! Nail-biting doesn't begin to describe the anxious vibe permeating the stadium. The bench begins to celebrate even before he reaches the plate. Forty thousand cheering fans reach maximum crescendo, filling the air with a glorious sound. Everyone knows how this story will end… My teammate is met by the entire bench as his fingers inch across home plate, instantly followed by the unmistakable motion of the catcher's glove attempting to tag him out—its milliseconds too late. The ump swings his arms outward, officially calling him safe.
By Lamar Wiggins3 days ago in Fiction


Comments
There are no comments for this story
Be the first to respond and start the conversation.