
Belkin Setup | Belkin Range Extender
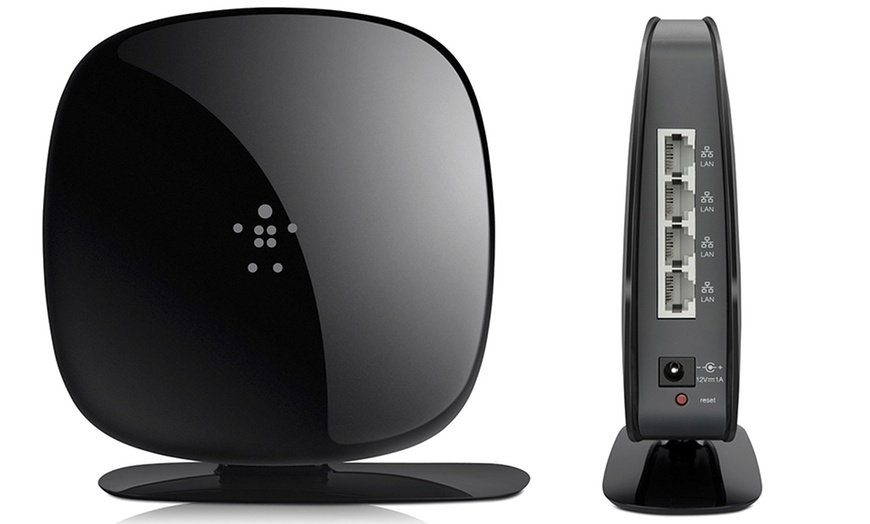
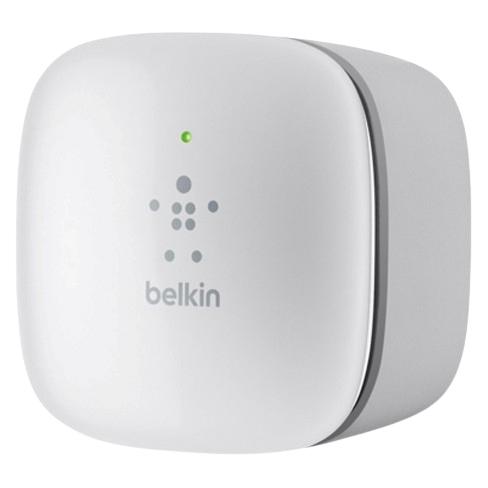
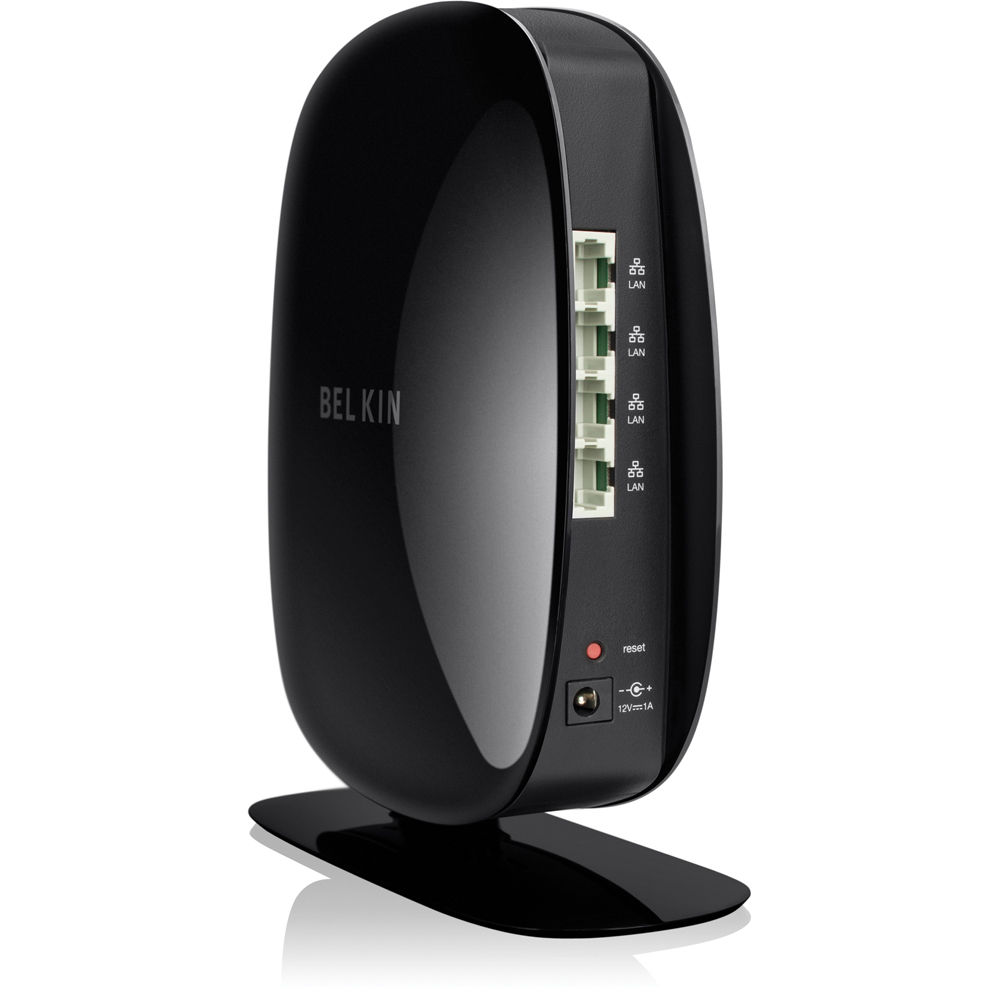
The Belkin range extender setup is very easy and can be done in a few minutes. It allows you to extend the range and provides a strong WiFi signal for better coverage. Thus, in this blog, we will educate you about the focuses to be dealt with while doing the Belkin setup and the straightforward setup process.
Reasons For Using The Belkin Range Extender
- It gives good coverage in homes and workplaces where WiFi as of now does not reach the whole building.
- Clients have the feature to move the Belkin range extender to help WiFi needs.
- Gives better WiFi signals in the areas that experience underlying obstruction.
- Works best in the dead spot regions.
- Gives high-speed web association.
Points To Be Noted Before Belkin Range Extender Setup
Follow the below-mentioned guidelines:
- Firstly, make certain to keep your extender free from any electronic gadgets.
- Try not to put your extender between the extender and the router.
- At the point when you are setting up ensure that your PC or cell phone interfaces with the extender’s network.
- Make sure that the web association of your essential WiFi network is steady and dynamic.
- Make sure that all gadgets are associated appropriately with one another as well as the power source.
Use WPS Method For Belkin Extender Setup
The WPS button simplifies it to set up any WiFi extender. It can be possible if the router and extender each support the WPS button. Follow the below-mentioned instructions to finish the Belkin wifi extender setup utilizing the WPS button:
Step1. Switch on your WiFi router and afterward, you can likewise associate the Belkin range extender to the electrical plug.
Step2. After that, you have to press and hold down the WPS button on the Belkin range extender for around 5 to 7 seconds.
Step3. Now, release the button when you see that the LED power light is glowing on your gadget.
Step4. Afterward, within 2-minutes, press the WPS button on the wireless router to start the WPS on the range extender.Step5. At last, wait for a couple of minutes, and afterward, let the devices connect.
Use Internet Cable For Belkin Extender Setup
The implementation process of the Belkin range extender setup with an Internet Cable is very convenient and can be done in a short period of time.
- To begin, connect the Belkin range extender to a power supply source and switch the power “ON.”
- After that, using the ethernet cable node you are suggested to attach it to the range extender, and the other node to the computer.
- Now, you have to open a web browser on your laptop or phone and type http Belkin range in the search box.
- Thereafter, you should use your login credentials to access the Belkin extender after arriving at the login screen for the Belkin extender setup.
Note: The login credentials can be placed on the bottom of the Belkin range extender on the sticker.
5. Next, you should follow the on-screen directions for Belkin setup after completing the login process.
That’s it! With the above-mentioned techniques, you can easily implement the Belkin setup without having any difficulties. In case you face any issues call our experts.
